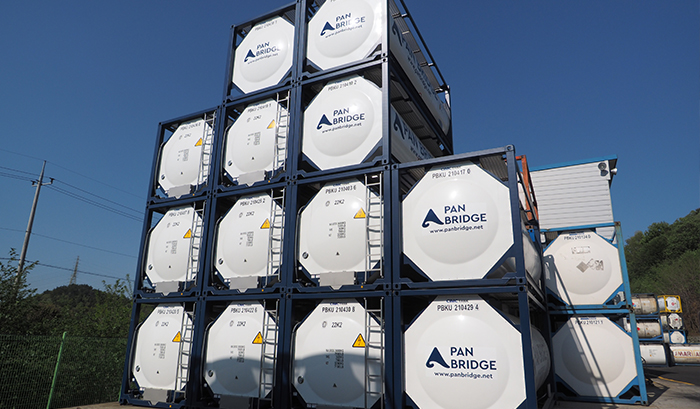
ISO Tank
Services
ISO Tank
PAN BRIDGE is a Professional Tank Container Operator and we provide ‘EVERYTHING’ related to the ISO Tank Container : Tank Container Logistics, Tank Operation, Depot Services (M&R), Lease & Purchase, and more.Summary
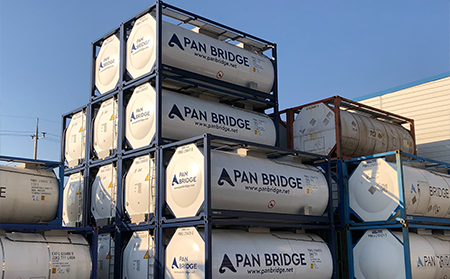
Global ISO Tank Container Logistics Service
Transport of liquid-bulk chemicals and any liquid/liquified products that are suitable for ISO tank in worldwide
Food-grade, Alcohol, Cosmetic, Resin, Paints, Inks, Latex, Solvent, and more
Specialized in transport of TDI, MDI, CCD
Dangerous Goods (DG) – highly toxic, precursor, temperature-controlled & sensitive
IMDG Class 3 (Flammable Liquids), 6 (Toxic), 8 (Corrosives)
All other supporting/supplemental services of handling ISO Tank
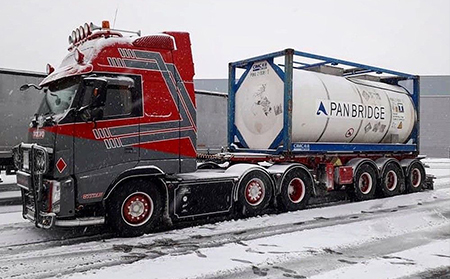
Inland haulage (Door-to-Door, Site-to-Site)
Tank Cleaning, Heating & Cooling, Repairing, and more
Dangerous Goods (DG) inspection, and more
Tank Container Leasing Service
Long-term / Short-term leasing
Lease & Purchase
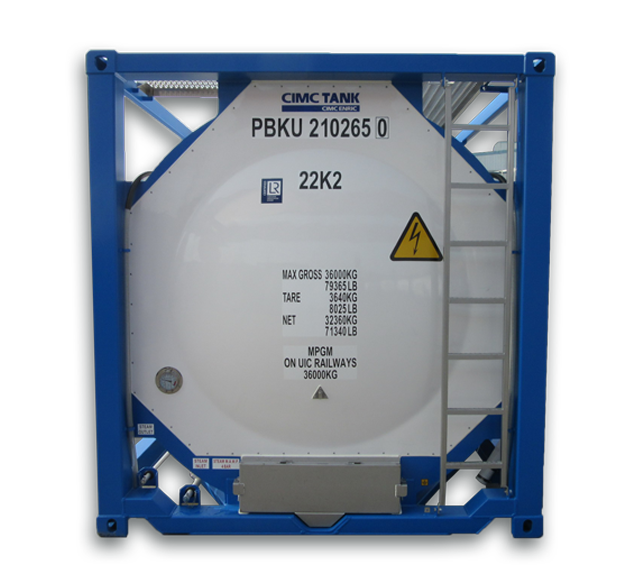
Tank Specification
4 Major Strengths
of ISO Tank Container
Safety
Most suitable way to transporting hazardous/Cost-efficiency
Carries greater volume per tank container,Reliability
Built with intense stainless steel which isEco-friendly
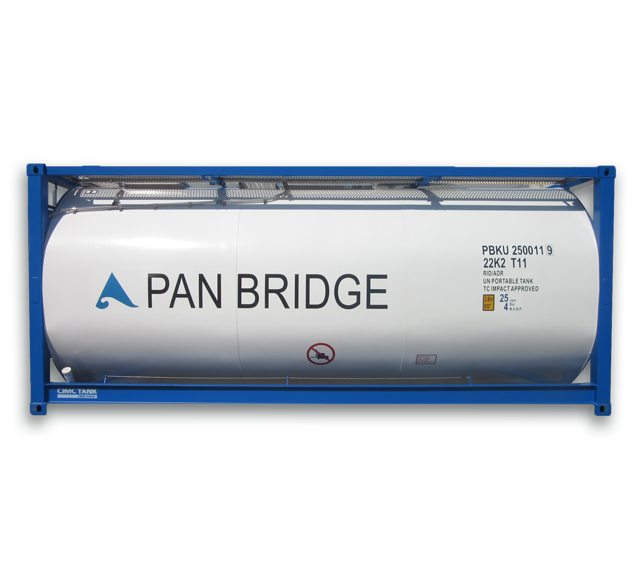
Very low possibilities of leakage and lessTechnical specifications of ISO Tank Container
|
Maximum Capacity :
22,000 L (5,812 gal) |
Maximum Gross Weight :
36,000 kg |
Tare Weight :
3,650 kg |
Dimensions (Frame) :
20’ x 8’ x 8’ 6’’ |
|
M.A.W.P (Bar) :
4.0 bar |
Test Pressure (Bar) :
6.0 bar |
Bottom Valve :
3’’ BSP valve / 3’’ FLANGE valve |
|
Learn more benefits of choosing ISO Tank Container,
Click Here.Why We Have to Choose Tank Container
Drums
Expensive / Inefficient / Unsafe It is expensive to use of drums for the transport of bulk liquids from the factory to end user.5 reasons why NOT to choose drums
Factory
Customer

Filling
You will be exposed with the risk of leakage, time consuming, and pricey when filling tons of drums.
Storage
Storage of drums are pretty expensive. Also, you might be faced with risks of leakage/spillage from potential damage.
Shipping
It is inconvenient, complicated, and expensive in transport of drums and higher possibilities of leakage/spillage due to numerous handling process.
Unloading
Drums waiting for proper transportation to the end user for unloading are subject to possible damage, contamination, and tampering.
Disposal
Drums are hard to clean, limited for re-using, pricey for disposal, and not eco-friendly as well.Tanks
Cost-efficient / Efficient / Safe1 reason to choose a tank
Factory
Customer

It is dependable for factory-to-factory and factory-to-end user operation
Tanks have low risk of cargo loss or potential contamination by providing simple, efficient and direct transfer between road, rail, and sea.
Tank Container
is the Answer for the
Right Choice
Our standard tank container can carry up to
= 22,000 liters (5,812 gallons)
= 104 standard drums (210 liters)
= 22 standard 1,000 liter IBCs
Tank offers a Higher Payload
20ft standard container can filled up to maximum of 80 standardTank can saves you a lot of Money
Choosing a tank will be able to :
1) NO wastage costs (initial outlay required only at the beginning) 2) NO Inventory management (Drums) 3) Manage only single unit (tank itself) 4) Reduce shipping costs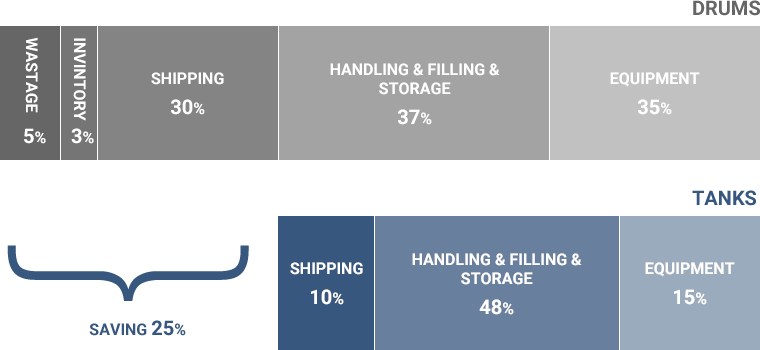
ISO Tank Guidelines
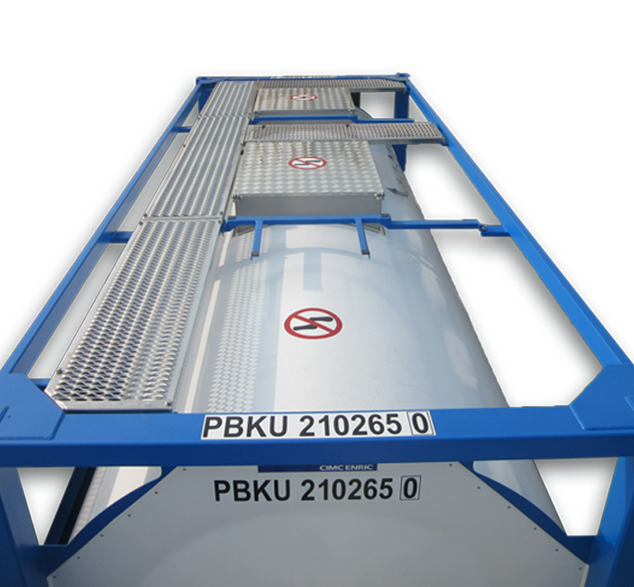
ISO Tank Surrounding View
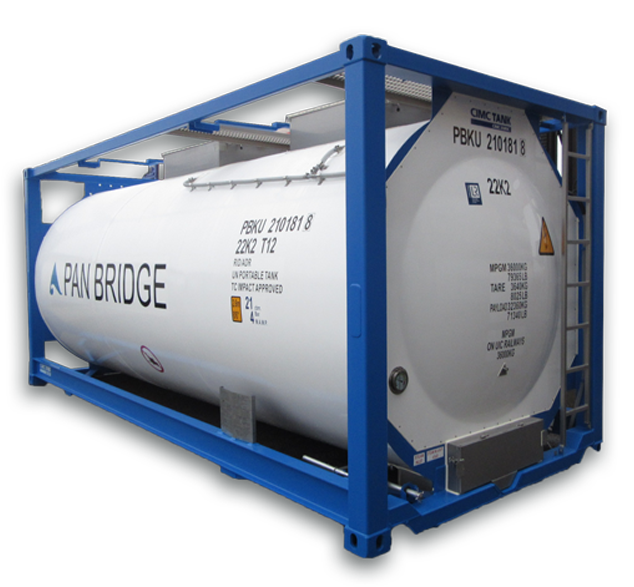
The tank container is a pressure vessel mounted in a frame. Frame dimensions comply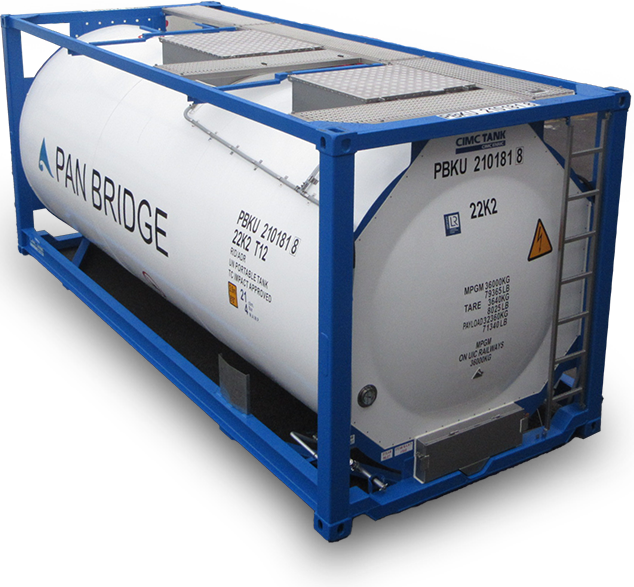


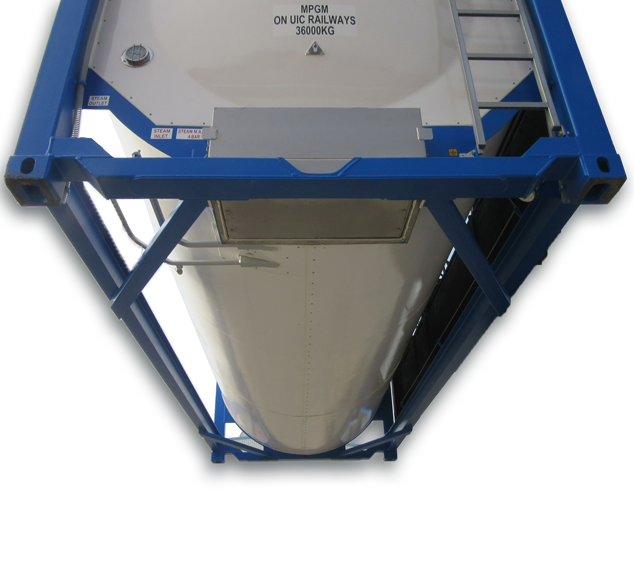
ISO Tank Components
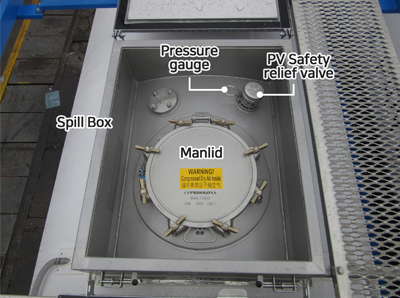
Outside
Manlid (Spill Box/Pressure gauge/PV Safety relief valve)
Top discharge valve (Spill Box/Pressure gauge)
Walkway
Bottom Outlet
Remote Control
Cladding
Document Holder
Frame
Steam Heating
Thermometer
Ladder
inside
Shell
Syphon Tube
Dip stick
Gasket
Load & Discharge Procedures
Take all precautions to securely brake the transport vehicle.
Check to make sure that the cargo matches the type and quantity marked in the order. For certain cargos, check to make sure that all required documents
(Cleanliness Certificate or Gas Free Certificate) are in order.
Ensure that all safety equipment is in its correct place.
Inspect the tank container through the man hole, making sure that all outlet valves are cleaned and cleared.
Inspect the relief valves.
Make an earth connection from the tank’s earthing point to local earth positions.
Make sure that the fittings for the hoses and the tank connections are correct. Check that the fitting material matches the cargo.
Make sure that all the facilities are in order for loading.
ㆍLoading through the manhole
Check that all the “Before Loading” procedures have been followed.
Make sure that all the tank bottom valves are securely closed.
Open the manhole and insert the hose.
Secure the hose.
Load the tank, while watching carefully for leaks in the hoses. Make sure tank has been loaded to the appropriate level.
After draining the hose, remove it from the tank. Securely close the manhole.
Make sure to follow all the “After Loading” procedures.
ㆍLoading through the top outlet
Check that all the “Before Loading” procedures have been followed.
Make sure that all the tank bottom valves are securely closed.
Detach the top outlet blank flange and bolt the hose coupling to the top outlet flange.
Attach the vapor return line and open the valve.
Load the tank, while watching carefully for leaks in the hoses. Make sure that the tank has been loaded to the appropriate level.
After draining the hose, detach it and remove it from the tank.
Replace the top outlet blank flange.
Close the airline valve, then disconnect the vapor return line and replace the blanking cap. Check that all the valves are securely closed.
Make sure to follow all the “After Loading” procedures.
ㆍLoading through the bottom outlet
Check that all the “Before Loading” procedures have been followed.
Remove the bottom outlet blank flange or the cap connect hose. Before opening the valves, make sure that the connection is secure.
Attach the vapor return line and open the valve.
Load the tank, while watching carefully for leaks in the hoses. Make sure that the tank has been loaded to the appropriate level.
Close the valve.
After draining the hose, detach it, and replace the blanking cap or flange. For tanks with a foot valve and external valve, make sure to close the external valve before replacing the blanking cap or flange.
Close the airline valve, then disconnect the vapor return line and replace the blanking cap. Check that all the valves are securely closed.
Make sure to follow all the “After Loading” Procedures.
Clean all the hoses, replace all the caps and blanks, and them put them in their designated place.
Inspect the tank container, making sure that the manhole and all valves are securely closed or capped. Check for spilled cargo. Properly clean any spillage.
Detach the earth connection.
Make sure safety equipment has been properly returned.
Depending on the cargo requirements, make sure that the tank container and its fittings are sealed according to Customs guidelines.
Make sure that the tank has the correct labels and that the cargo description matches the loaded cargo.
Take all precautions to securely brake the transport vehicle.
Check to make sure that the cargo matches the type and quantity marked in the order. For certain cargos, check to make sure that all required documents (Cleanliness Certificate or Gas Free Certificate) are in order.
Ensure that all safety equipment is in its correct place.
Inspect the tank container through the man lid, making sure that all outlet valves are cleaned and cleared.
Inspect the relief valves.
Make an earth connection from the tank’s earthing point to local earth positions.
Make an earth connection from the tank’s earthing point to local earth positions.
Make an earth connection from the tank’s earthing point to local earth positions.
Inspect the receiving tanks, making sure that the valves are correctly set.
For gravity or pumping discharge make sure that the manhole or air line valve is open and clear.
If doing a top pressure discharge, make sure that the pressure gauge is working correctly.
ㆍGravity discharge
Check that all the “Before Discharge” procedures have been followed.
Remove the bottom outlet blank flange or the cap connect hose. Before opening the valves, make sure that the connection is secure.
Open the manhole or air line connection.
Discharge the cargo, while watching carefully for leaks in the hoses. Drain the tank container.
After draining the hose, detach it, and replace the blanking cap or flange.
Close the manhole and secure the air line connection and replace the blanking cap.
Make sure to follow all the “After Discharge” procedures.
ㆍPumped discharge
Check that all the “Before Discharge” procedures have been followed.
For a ‘top outlet discharge,’ detach the top outlet blank flange and bolt the hose coupling to the top outlet flange. For a ‘bottom outlet discharge,” remove the bottom outlet blank flange or the cap connect hose. Before opening the valves, make sure that the connection is secure.
Open the manhole or the air line connection.
Discharge the cargo, while watching carefully for leaks in the hoses. Drain the tank container.
After draining the hose, detach it, and replace the blanking cap or flange. If it is a tank container with a single bottom outlet valve, close the valve before draining the hose.
Securely close the manhole or air line connection, and replace the blanking cap or flange.
Make sure to follow all the “After Discharge” procedures.
ㆍPressure discharge
Check that all the “Before Discharge” procedures have been followed.
For a “top outlet discharge,” detach the top outlet blank flange and bolt the hose coupling to the top outlet flange. For a “bottom outlet discharge,” remove the bottom outlet blank flange or the cap connect hose. Before opening the valves, make sure that the connection is secure.
Open the air line connection.
Discharge the cargo, while watching carefully for leaks in the hoses. Make sure to watch the pressure level until the cargo is completely discharged and the pressure drops. if discharging through a top outlet, a small amount of cargo may remain due to the length of the hose.
After draining the hose, close the air line valve, detach the air line, and replace the blanking cap.
Disconnect the hose and replace the blanking cap or flange.
Make sure to follow all the “After Discharge” procedures.
ㆍFor tanks with a foot valve and external valve
It’s necessary to close the foot valve before draining the hose. Then, after draining the hose, make sure to close the external valve before detaching the hose and replacing the blanking cap or flange.
Make sure that the tank has been discharged. Remember that if a “top-outlet pressure discharge” has been performed, a small amount of cargo may remain in the bottom of the tank.
Clean all the hoses, replace all the caps and blanks, and them put them in their designated place.
Inspect the tank container, making sure that the manhole and all valves are securely closed or capped. Check for spilled cargo. Properly clean any spillage.
Detach the earth connection.
Make sure safety equipment has been properly returned.
Follow guidelines for treating hazardous cargo if necessary.
Add solvent to the tank to prepare it for cleaning. Keep the tank under pressure by leaving the gas used in the discharge process in the tank container until it is cleaned.
Make sure that the tank is kept under proper air pressure until it is cleaned.